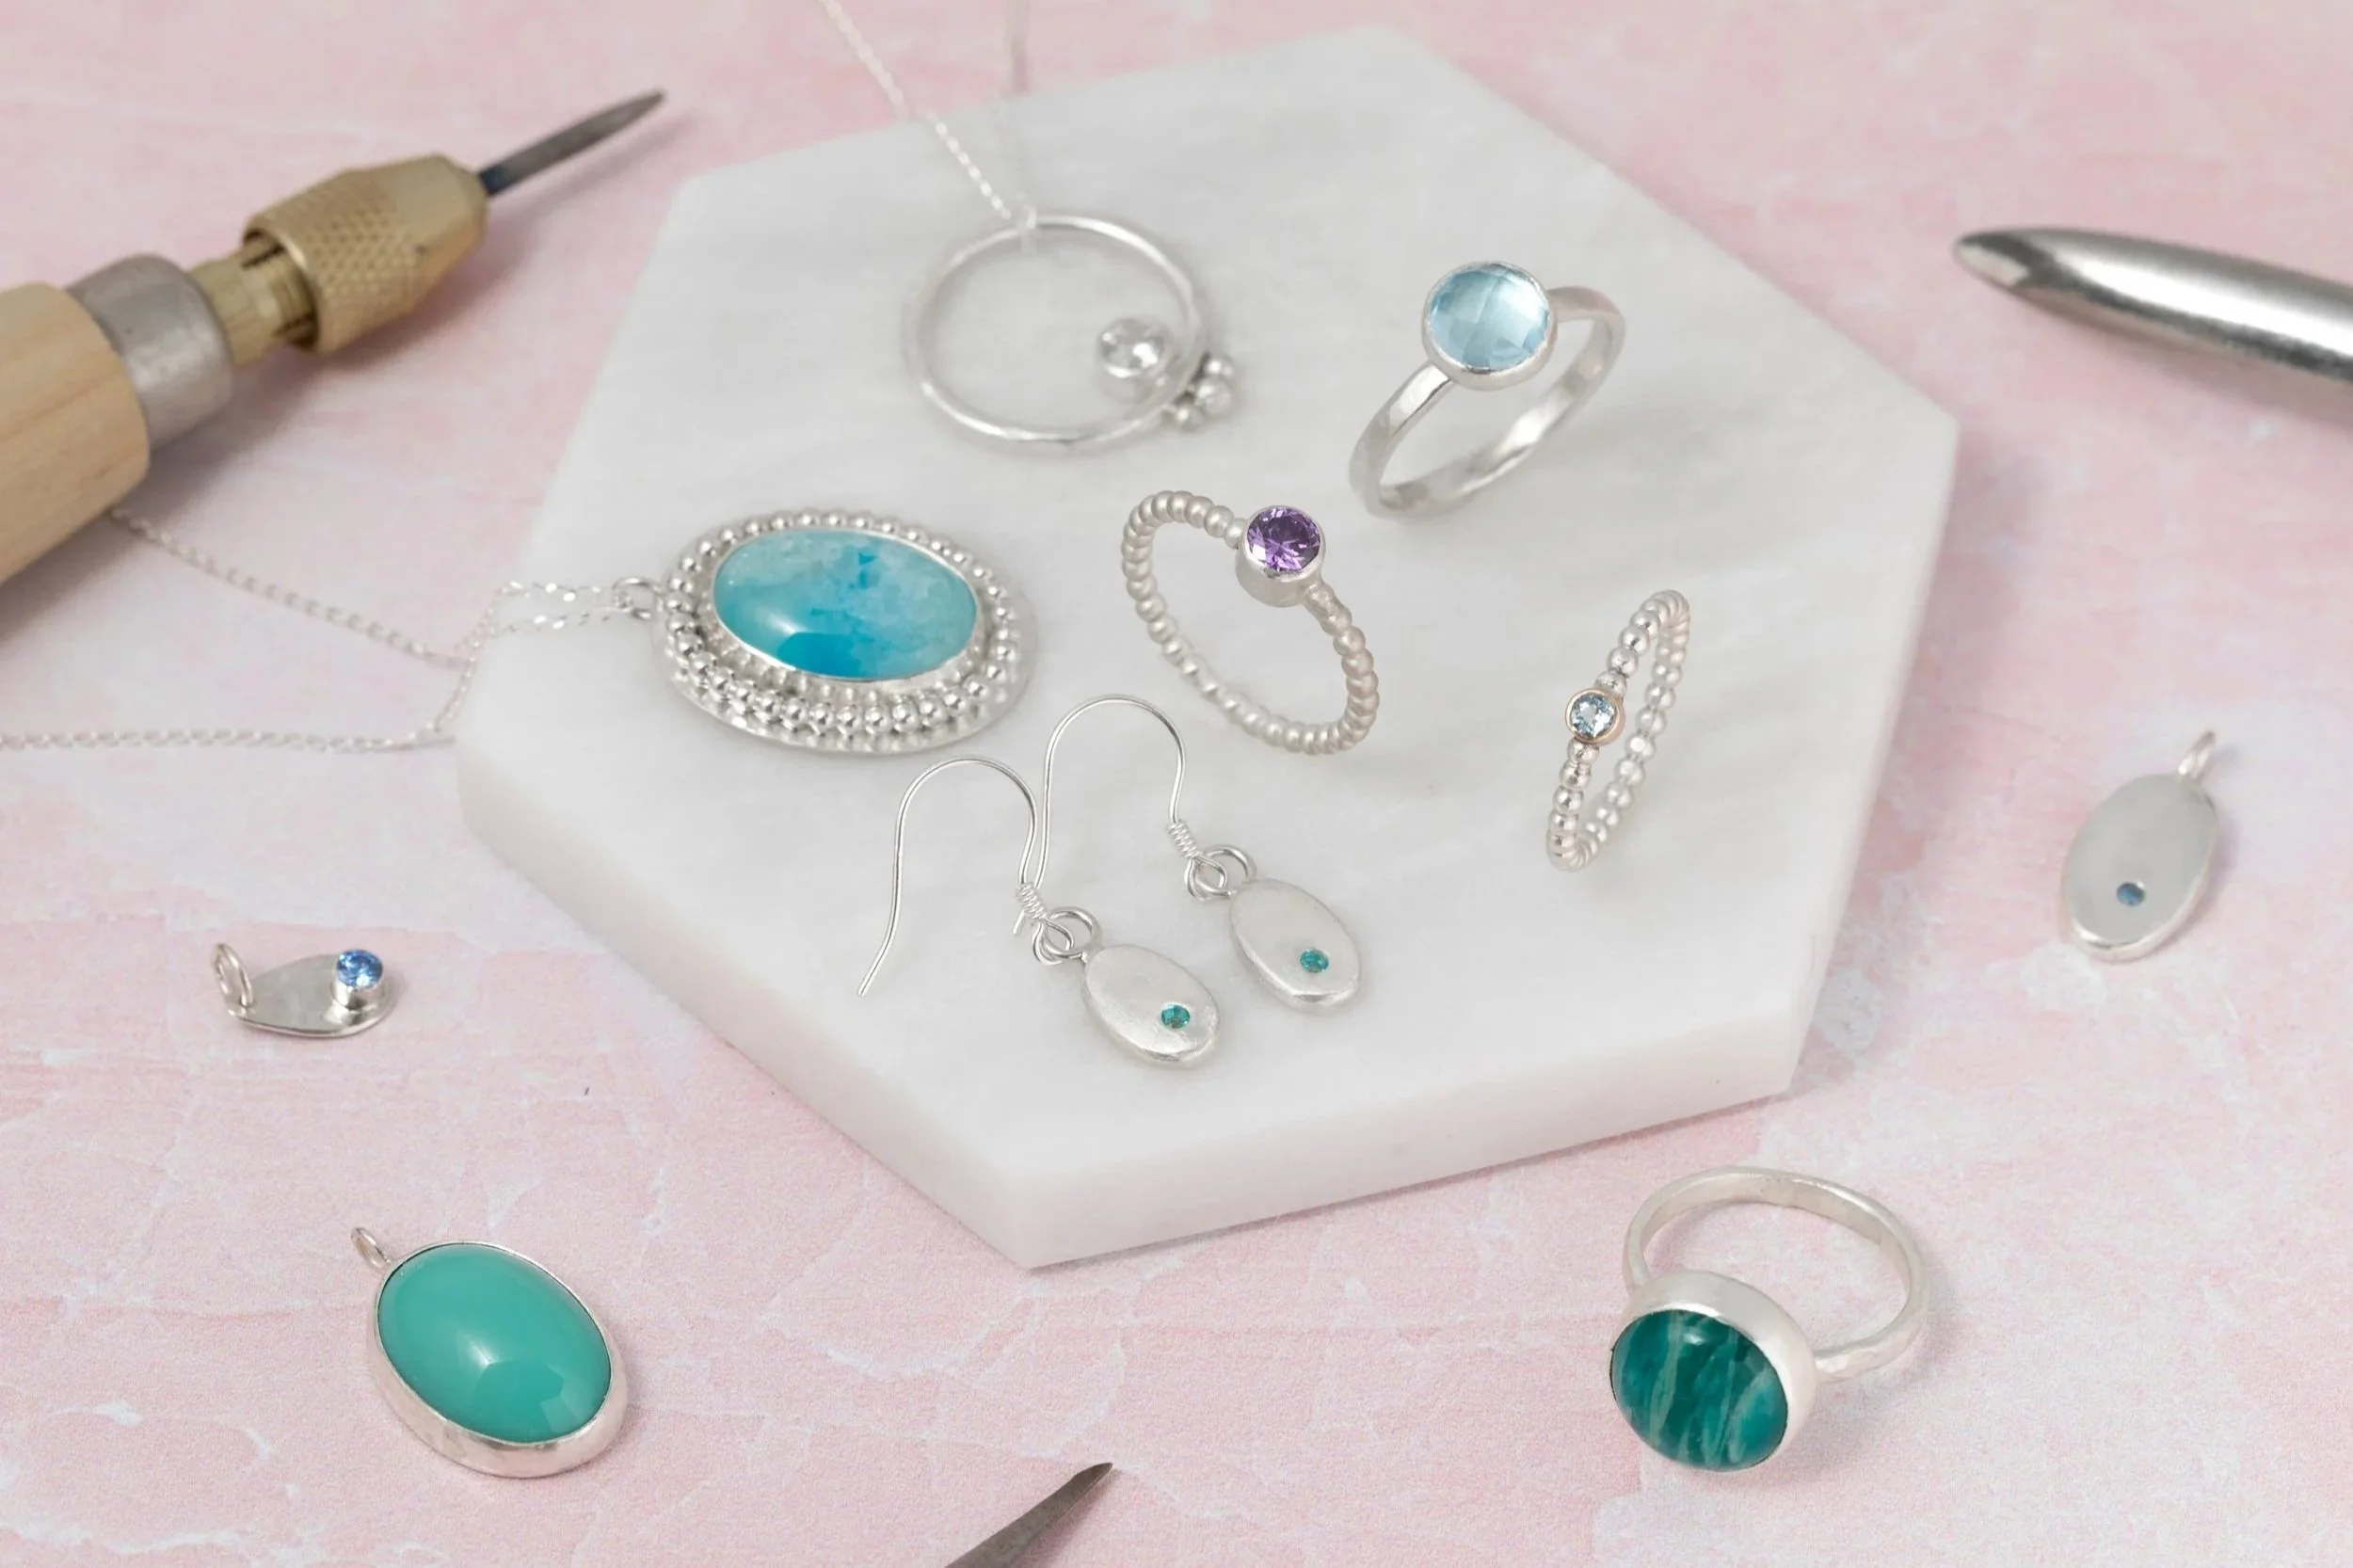
5 tips I picked up setting my first cabochon stone
I set my first cabochon (flat backed) stone recently at Jewellers Academy Brighton… and I learnt so much that day.
I thought I’d share a few things that stuck with me:
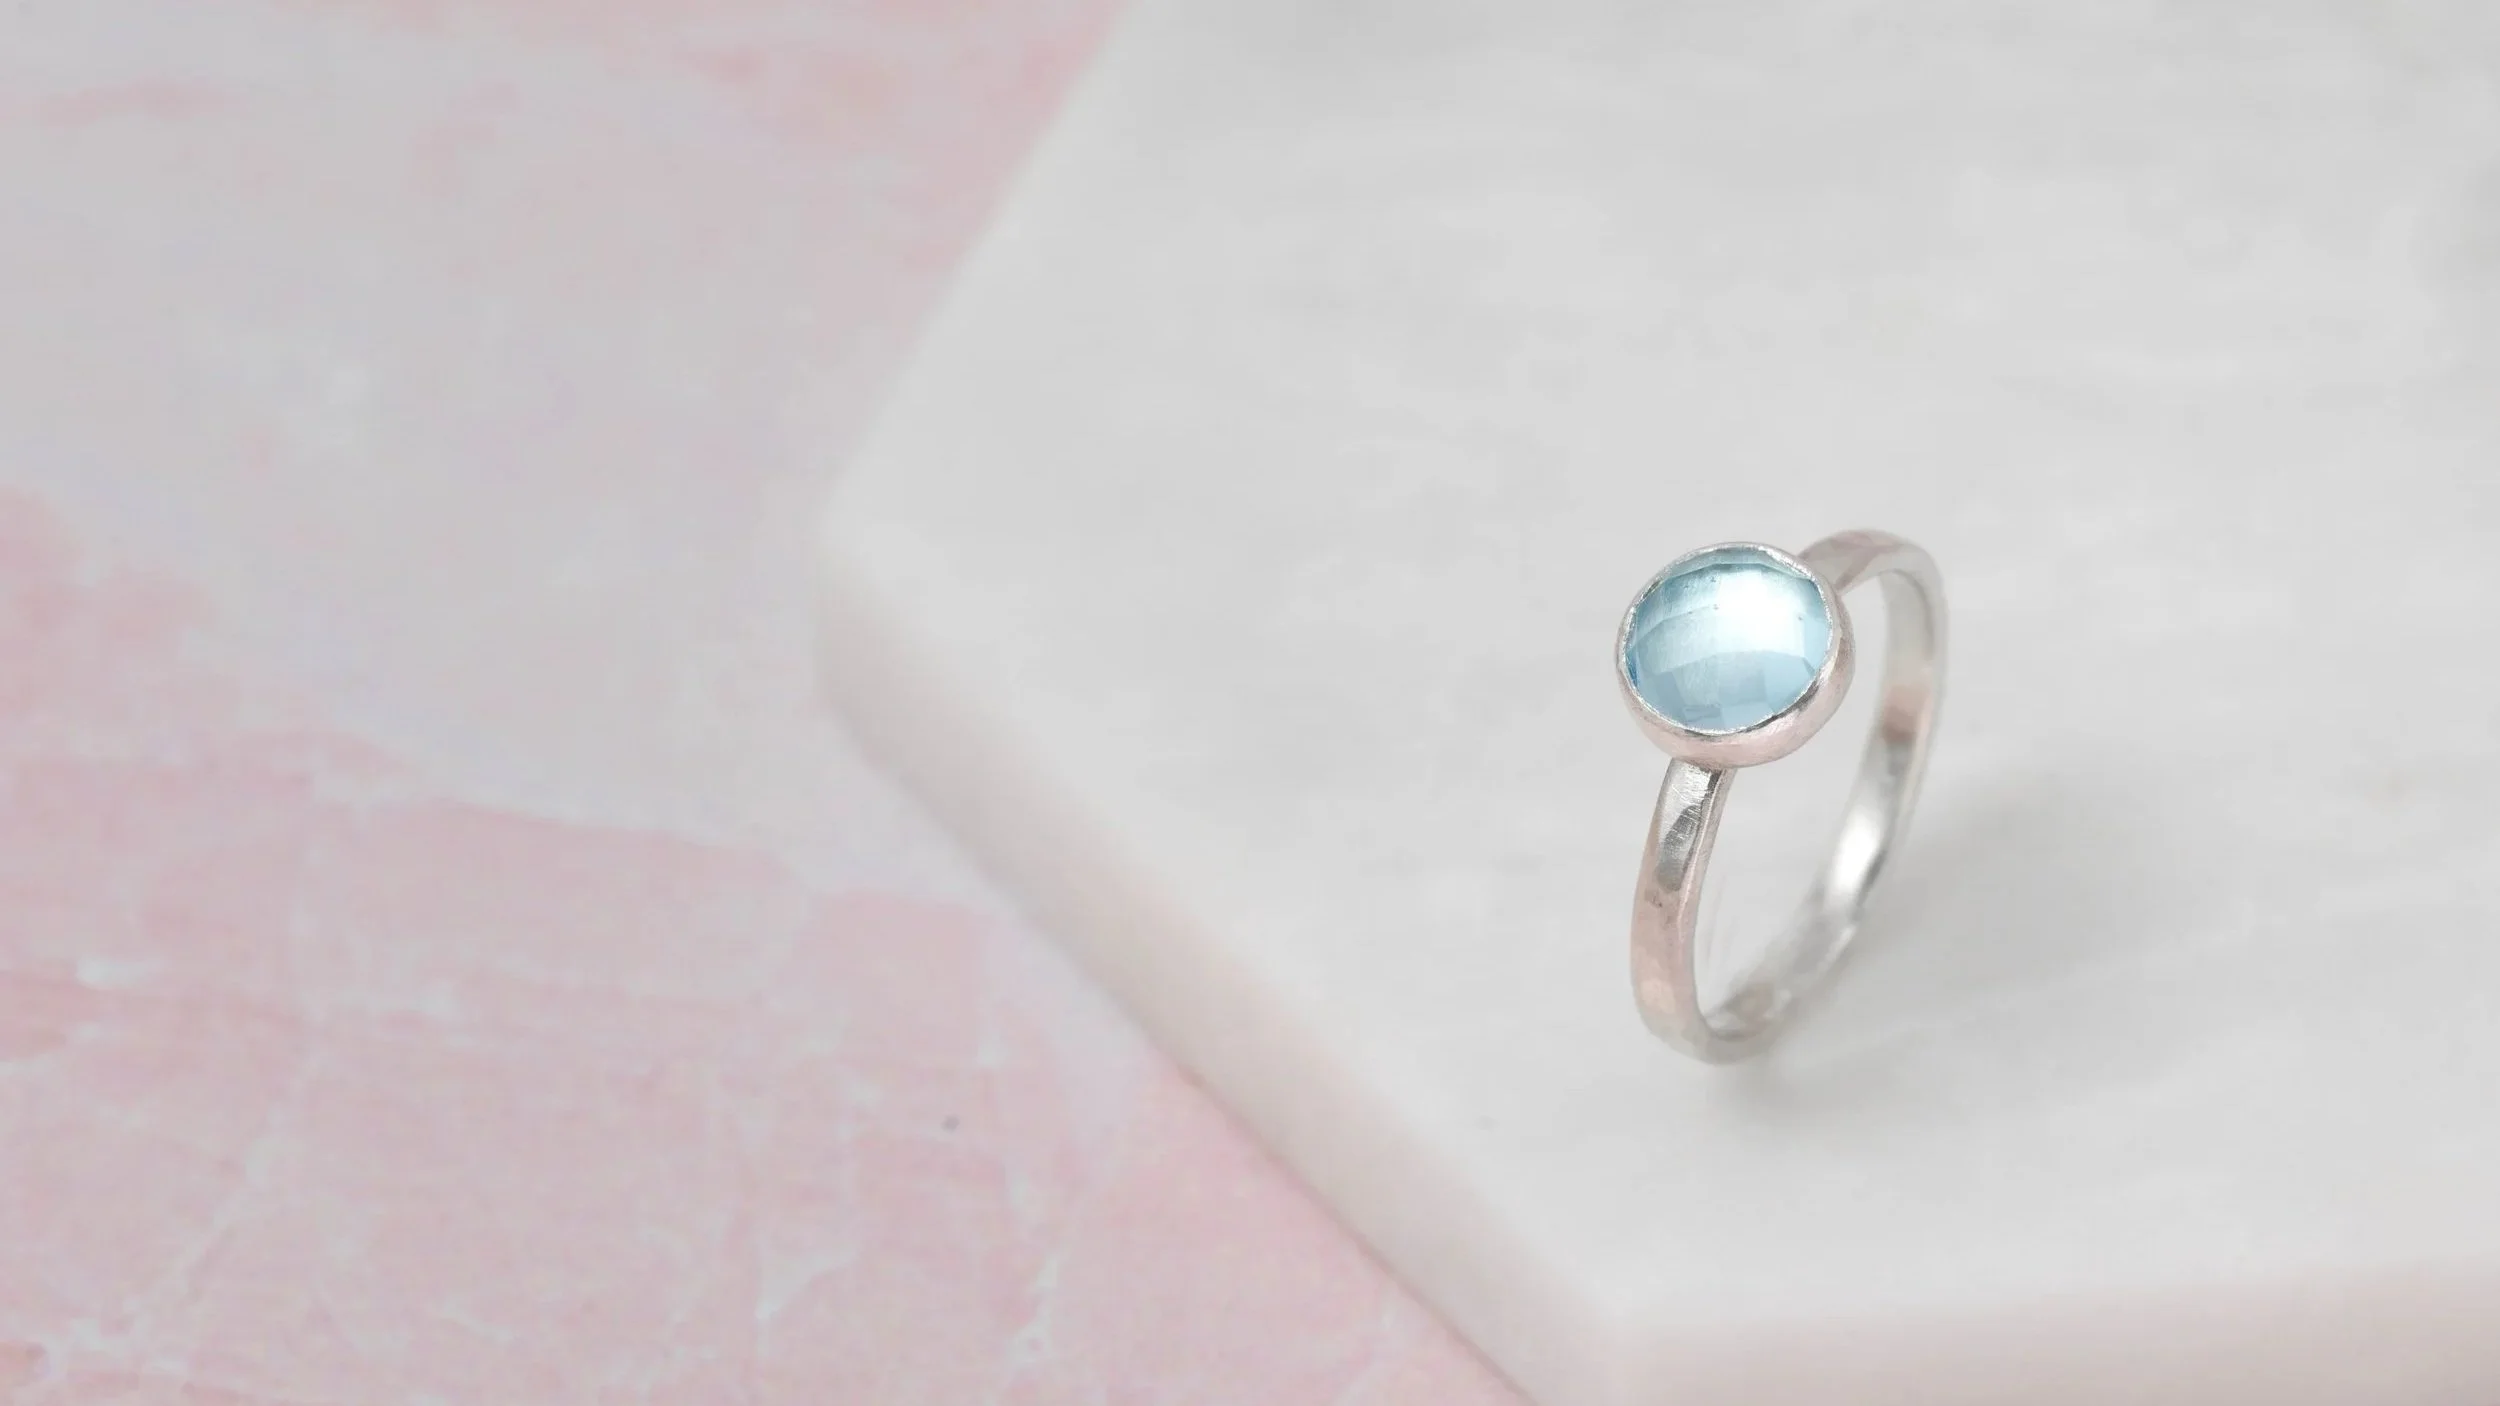
1. Bezel height makes all the difference
We looked really closely at where the stone starts to curve, and that’s where the bezel needs to catch. Too high and it covers too much of the stone and can look messy, too low and it won’t hold it securely.
One thing I found helpful — it’s much better to go slightly too high, as you can always sand the bezel wall down.
In the UK, bezel strip usually comes in 3mm and 5mm, so you can actually get away with just buying 5mm to begin with and adjusting it to suit your stone.
2. The fit is everything
Before soldering the bezel to the backplate, we made sure the stone sat snugly in the setting with no gaps — and then checked it again afterwards. If it’s too loose you can end up with ripples and folds in the setting.
One really helpful tip: when the backplate is attached and you’re testing the fit, place a bit of dental floss behind the stone before you put it into the bezel. That way, if it gets stuck (which it easily can when the fit is good!), you can just pull the floss and it pops straight back out.
3. Soldering the backplate is all about heat control
We were using fine silver bezel strip in this class, which can melt quite easily (especially compared with the thicker sterling silver backplate). So when attaching the bezel to the backplate, the heat needs to be focused on the backplate rather than the bezel itself.
Our lovely tutor Jess suggested that we solder on a raised piece of mesh, so we could get the flame underneath and direct the heat where it’s needed, and avoid overheating the bezel wall.
And a good reminder from the class — if the solder doesn’t flow all the way around first time, that’s completely fine. You can pickle it and go back in to fill any gaps.
4. Work in opposites (and trust the process)
When it came to setting the stone, we worked north, south, east, west — gradually pushing the metal in and over the stone from opposite sides to keep everything even.
Initially, mine looked quite wobbly and I wasn’t convinced I’d ever get it smooth.
But that’s part of the process.
You’re gradually moving the metal into place, and the burnishing afterwards really smooths everything out and brings it together.
5. You can always go back in and refine
Even when I thought I’d finished, my stone still had a little bit of movement. So I went back around again with the square pusher and then the burnisher, gently tightening the bezel wall until it felt completely secure.
After that, smoothing and polishing makes such a visible difference — it’s the step that really brings everything together into a finished piece.
What I loved about starting with cabochon setting is that you can really see what’s going on — how the metal moves and how the stone is held.
It made stone setting feel way less intimidating than I’d imagined!
What else do you learn on the two-day stone setting course?
The second day of this two-day stone setting course focuses on tube and flush settings — two techniques for setting faceted (pointy backed) stones that I absolutely love.
It builds on what we learnt setting cabochons, introducing more precision and some different tools like burrs.
The course is a brilliant introduction to stone setting. I had never set a stone before and I did just fine, and equally others who had done a bit of cabochon setting before found the way the course builds really helpful and picked up loads of extra tips.
I loved this course — it’s opened up a whole new world of jewellery making for me. I want to add stones to everything now!
If you’ve been curious about adding stones to your own work, this is such a brilliant place to begin.
With love,
Sam x